 Shop On-Line at the Art of Essex
|
Shop On-Line at the Art of Essex
|
Lesson
Plan: Junk Sculpture
Teacher: Mrs. Suzy Weber
and Mr. Essex Garner,
Saint Joseph Catholic School, Jefferson
City, Missouri
Cooperating Teacher: Mrs. Suzy Weber
Unit: Making Art – Three Dimensional Sculpture and Painting - Math/Science,
integration
Grade Level: Elementary and Middle School (6 and 9) - Adaptable to higher
and lower grades.
|
Missouri Standards for Teacher Education Programs
(MoSTEP) 1.2.2.3 Encourages student responsibility. 1.2.3.4 Connects instruction to students' prior
experiences and family, culture, and community.
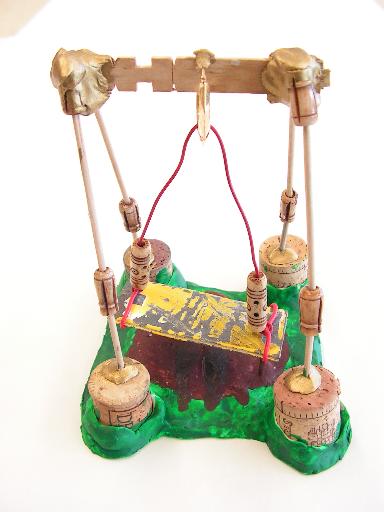
The Swing: 6th Grade
Standards:
Performance Indicators: 1.2.4.1 Selects
and creates learning experiences that are appropriate for curriculum goals,
relevant to learners, and based upon principles of effective instruction (e.g.,
encourages exploration and problem solving, building new skills from those
previously acquired). 1.2.6.2 Manages
time, space, transitions, and activities effectively. |
|
| Strand (Know about Art), (Making Art) and Elements of Art Objective Students will be working on three goals: 1) to plan a sculpture so that decisions are made that help to achieve a result the student has chosen, 2) using basic elements of economy to get supplies needed and sold (if necessary) and 3) to create a finished sculpture that could be called art. |
|
|
I have found that metal, wood and glass junk works best for baking the
projects in the oven– many plastics lose their shape or luster in 250 degree
heat (Suzy Weber).
Steps 1.
Begin with a discussion on our disposable society and how much of what we
dispose of is just lying around, bottle caps, spark plugs, nails, lost
earrings, etc. I usually add on information on how long things take to
decompose– like that lost earring will still be on the earth in 1000 years.
This leads to a discussion on Alexander Calder and the spectacular art he
created from junk. I also found pictures of student artwork on the Internet
created from junk. At this point, they are asking when they get to "buy"
junk.
|
|
| Step
2.
Before passing out their "money" and bags, I write the code on the
board, which tells them how much each sticker is worth. Each student gets a
bag, a $5 bill, a $1 bill, 2 $.50 bills and 2 $.25 bills. Many will write the
amounts right on the bills or will find it written on there already by previous
students– even the money in recycled. Step
3.
Students are taught how to buy items by bartering. I tell them I am out to make
back my money, and will charge as much as I can for each item. If that price is
not acceptable, then the student should argue for a price he feels is fairer. I
make it clear I will not buy back any junk. If a student realizes he needs some
extra money, he can sell to other students or do odd jobs for me for Very
Little Money. Students are also told that, at the end of the project, all extra
pieces of junk, clay and money are returned to the classroom for other
projects.
|
|
| Step
4.
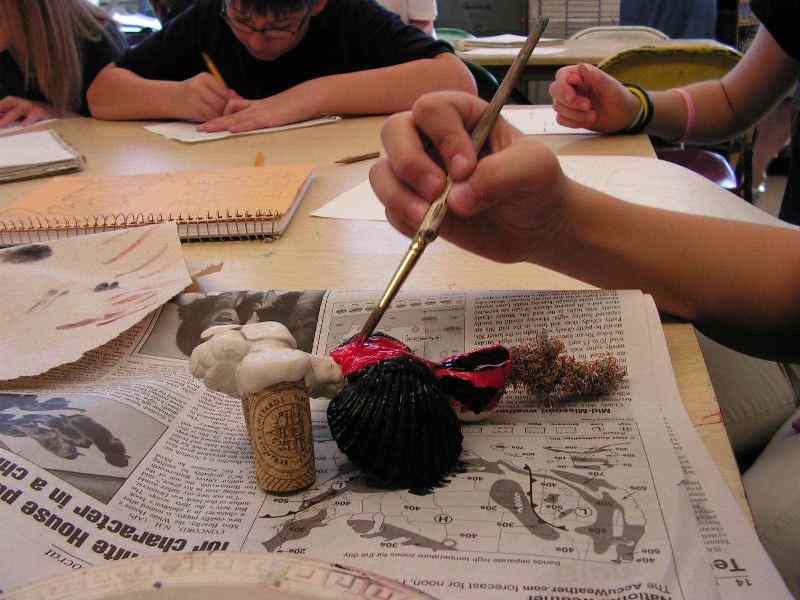
How To Basics– we begin discussing how to bond all these eclectic pieces
together. I tell them they can buy a small, golf ball size piece of Sculpey
clay for $1, but only one ball per customer. They can also buy wire and I will
rent my wire cutters for 5 minutes if needed. They can also buy toothpicks and
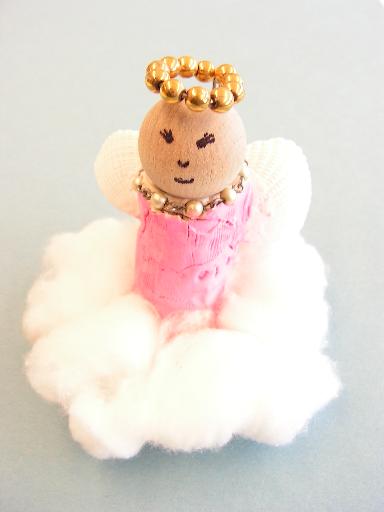
run them up through items like wine corks. After the baking process, glue is
also an option.
|
|
| Step
5.
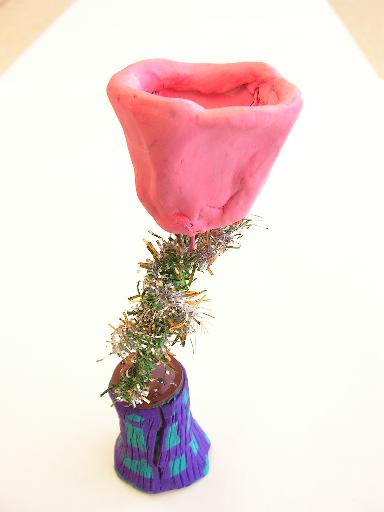
Selling the Junk! By the time I begin selling, the students
are very excited to buy my bottle caps, broken necklaces and
spark plugs. I don’t sell wire or clay until the 2nd or 3rd
day because I want them to have a chance to "wade through" the junk a bit
first. Some students will buy a few things very quickly and try to get
started, and others will come back and keep buying until they are all out of
money, then will try to sort through it all and come up with something. This
is a project that demands a certain amount of individuality from the student
and that definitely comes through in the resulting artwork.
Step
6.
As the project progresses, 3 trays are needed; one for
works in progress, one for projects ready to be baked, and one for
finished projects, ready for a grade. Everything else is put back in
the bags at the end of each class, and stored away for the next
class. If a student is short on cash, I will pay someone $1.50 to Step
7.
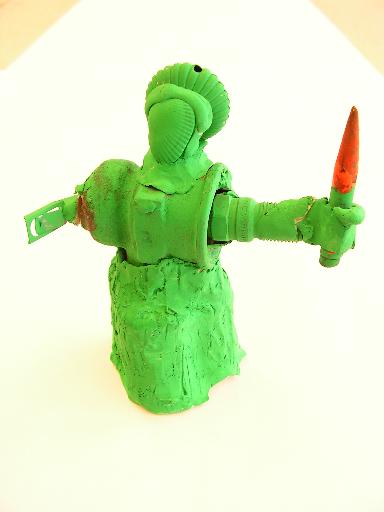
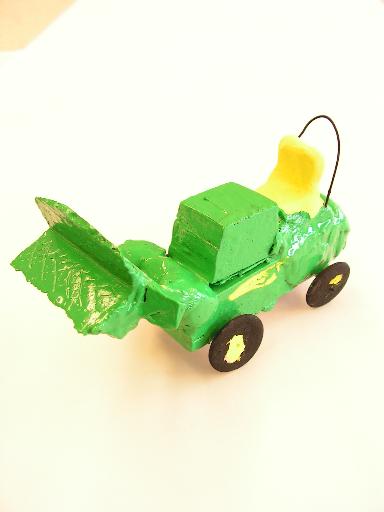
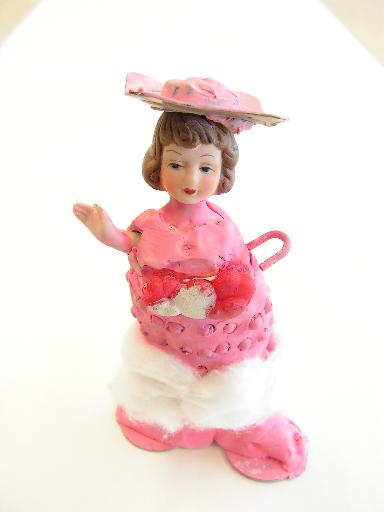
Once the projects are baked, students can embellish the works by painting. I
remind them, though, not to work too hard to disguise the junk in the project,
because that is part of its charm.
|
|
|
This takes about 10 forty-minute class periods to complete with a class of about 25 students. The results can be very exciting! |
|

|
    
|
|